As I stated in a previous thread on tap tone...I'm sending some picks of build #1.
Please let me know what you think...and critics are welcome...
Stats:
Dreadnought (14 fret)
Sticka Top
Sapele Back and Sides
IRW--Bridge, Fret Board, Head plate (front & back), Heal Cap, and End Gaft.
Binding--B/w/B + IRW (same on top and side)
Rosette--B/w/B + Abalone + B/w/B
Tuners and Pins to be determined later (TBD)
Build #2 is in the planing stages (Thanks Bob C for the oversized Ebony Bridge Blanks...yeah...a big bridge...but...its a replica guitar). ---More to come on that when the chips start to fly.
Thanks,
JP
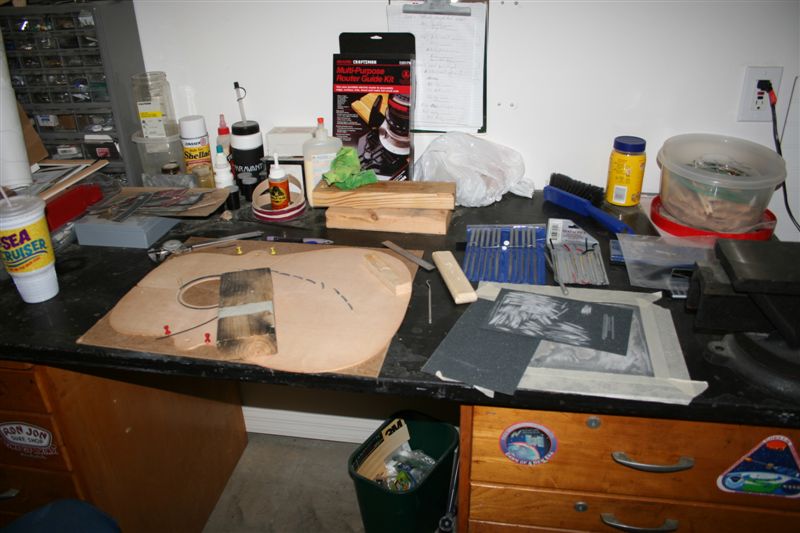
Inlay Bench
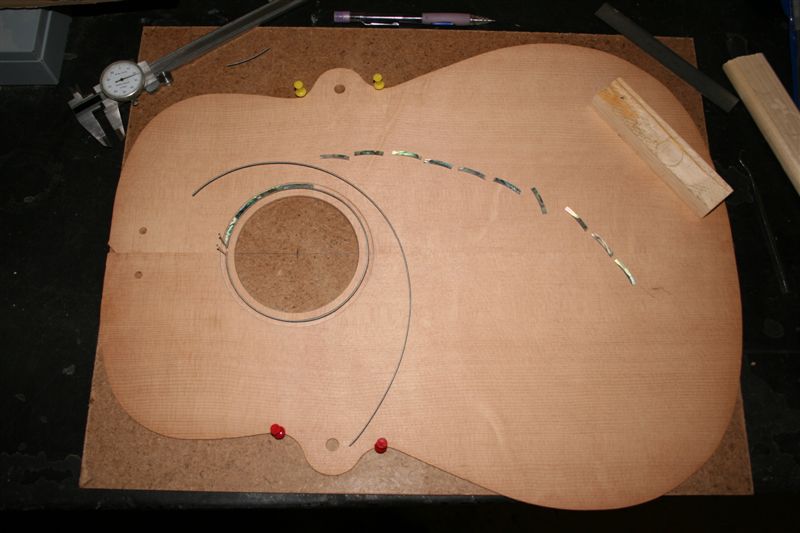
Inlay Fitting
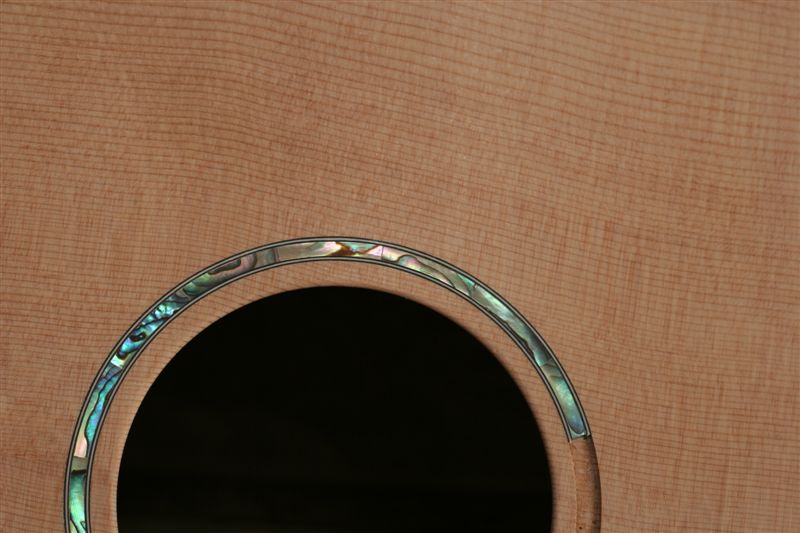
Inlay Completed
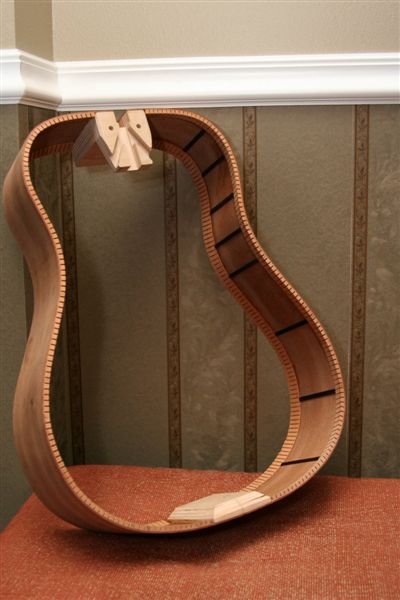
Completed Rim
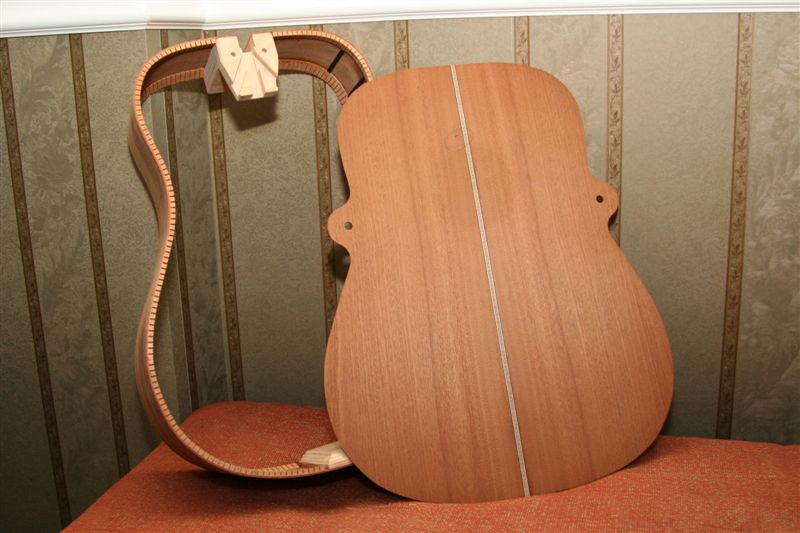
Completed Rim & Back
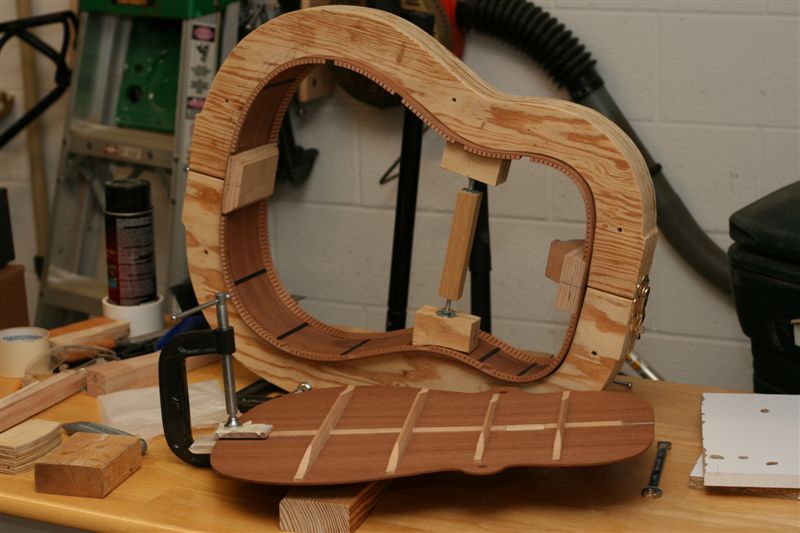
Rim & Back Fitting
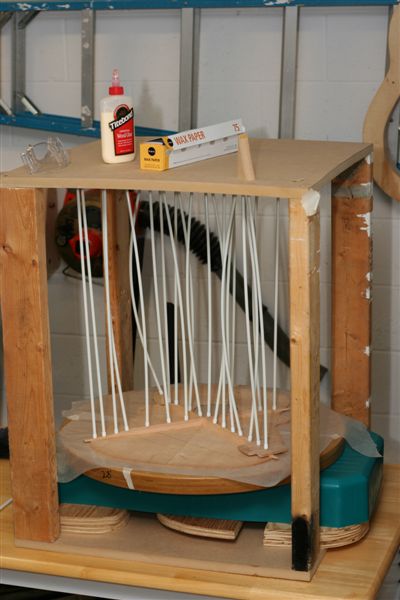
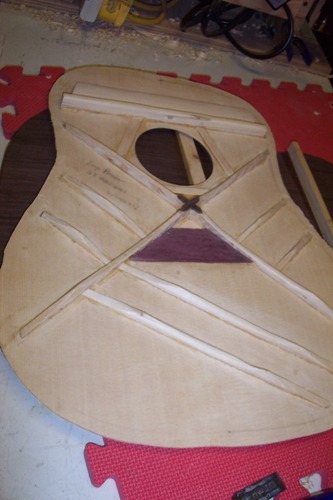
X-Bracing in Go Deck---I made my own Dish Molds...Still have MDF in my lungs...yummy.
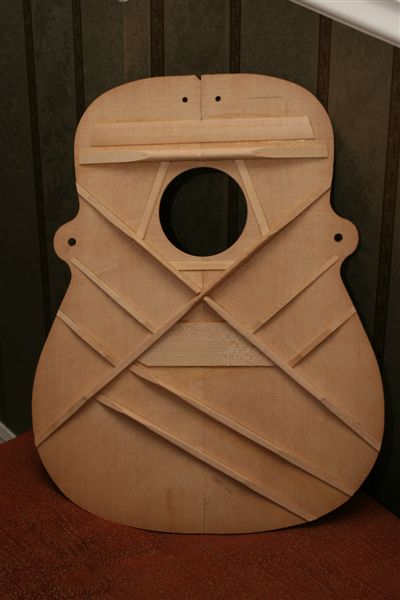
Scalloping Started
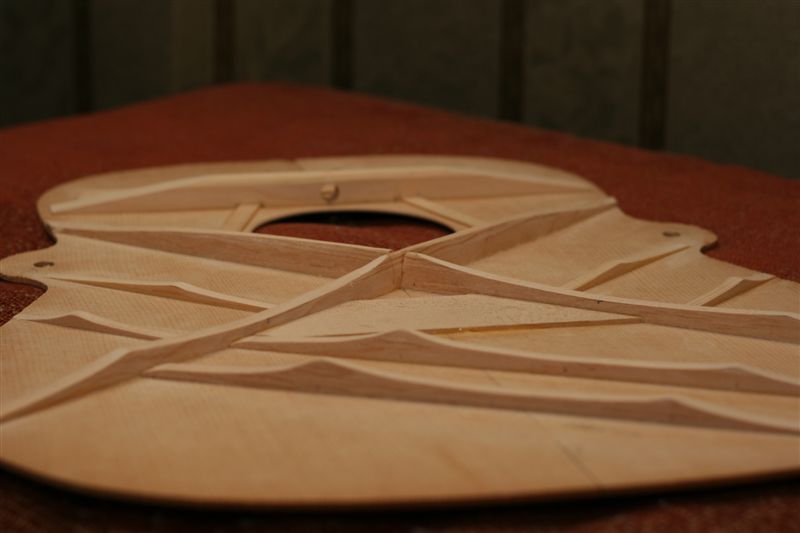
Scalloping Nearly Completed---I may tune this top some more...but...I am getting a pretty solid tone when tapping.
Thanks again for the look....